
Knee Arthroscopy
Arthroscopic reconstruction of the anterior and posterior cruciate ligaments (ACL & PCL) and meniscus repair using refined, minimally invasive techniques.
On this page
Visit Asa Clinic
Isfahan, Mohtasham Kashani St, corner of Alley 44, 5th floor, Asa Clinic
Online booking via Boghrat
6 min read
What are injuries inside the knee?
Inside the knee are structures such as the meniscus (cartilage), the cruciate ligament and the joint cartilage, which a sudden twist, a sports injury or wear can tear or damage. Arthroscopy lets me see and repair these injuries with a camera through very small incisions.
Why does it happen? (in plain terms)
A sudden twist or repeated load can tear the meniscus or a ligament; sometimes a fragment of cartilage or meniscus breaks off and catches inside the joint, causing locking and pain.
Symptoms and signs
- Knee pain and swelling, especially after activity
- A feeling of locking or catching in the joint
- Instability or the knee 'giving way'
- Difficulty fully bending or straightening it
Treatment options — step by step
Many mild injuries heal without surgery; arthroscopy is for cases that need it.
Step 1 — Rest, ice and physiotherapy
- What it is: Reducing aggravating activity, ice, and strengthening and range-of-motion exercises.
- How it helps: Reduces swelling and strengthens the knee muscles.
- Who it suits: Mild injuries and stable meniscus tears.
- What to expect: Improvement over a few weeks in mild cases.
Step 2 — Oral medication
- What it is: Pain relievers and anti-inflammatories.
- How it helps: Controls pain and inflammation.
- Who it suits: When pain or swelling is bothersome.
- What to expect: Short-term relief, under a doctor's supervision.
Step 3 — Injection
- What it is: An anti-inflammatory injection in selected cases.
- How it helps: Reduces joint inflammation.
- Who it suits: When symptoms have not responded enough to simple treatments.
- What to expect: Temporary relief for a few weeks.
Step 4 — Arthroscopy (surgery)
- What it is: Repairing the meniscus or cartilage or reconstructing a ligament with a camera — described in detail further down this page.
- How it helps: Repairs the structural injury and restores knee function.
- Who it suits: Symptomatic tears or instability not responding to non-surgical care.
- What to expect: A gradual return to activity with rehabilitation.
The surgery, step by step with Dr. Jalil Emad
- Assessment and planning: I carefully review your examination findings and MRI so the treatment plan is clear before I begin.
- Minimally invasive entry: through two or more very small incisions I introduce the camera and fine instruments; the whole knee is seen on a high-definition monitor.
- Precise repair: depending on the injury I suture or trim the meniscus, smooth the cartilage, or reconstruct the cruciate ligament — all with the least harm to healthy tissue.
- Wash-out and final check: I clean the joint and check stability and range of motion so that a fast recovery is set up from the very first hours.
Your rehabilitation and recovery roadmap
Phase 1: First two weeks (protect and reduce swelling)
Care and key precautions
The golden rule here is 'rest, ice, compression, elevation': keep the leg above heart level, ice several times a day and keep the wound dry. Depending on the procedure, walk with crutches bearing weight as tolerated. Take signs of swelling seriously.
Exercises for this phase
Ankle pumps
- Goal: Circulation and prevention of clots and swelling.
- Step-by-step technique: Lie on your back with the leg straight; move only the ankle gently up and down without moving the knee.
- Reps & timing: 10–15 times, every one to two hours.
- Safety note: Report sudden calf pain, warmth or swelling immediately.
Quadriceps set (isometric)
- Goal: Maintain thigh strength without stressing the knee.
- Step-by-step technique: With the leg straight, tighten the front-thigh muscle so the back of the knee presses into the bed; hold 5 seconds.
- Reps & timing: 10 times, 3 sessions a day.
- Safety note: Do not hold your breath; ease off with sharp pain.
Phase 2: Weeks three and four (increase range of motion)
Care and key precautions
Swelling settles and you usually leave the crutches behind. Once the wound has healed, a normal shower and light tasks are allowed. The aim is full bending and straightening and smooth walking.
Exercises for this phase
Straight leg raise
- Goal: Strengthen the thigh for better knee control.
- Step-by-step technique: Lie on your back; bend the good leg and keep the operated leg straight; tighten the thigh and lift the straight leg 20 cm, hold 3 seconds.
- Reps & timing: 10 times, 2–3 sessions.
- Safety note: If the knee bends, work on the quad set first.
Seated knee bend
- Goal: Restore flexion range.
- Step-by-step technique: Sit on a chair; gently draw the operated foot back under the chair until the knee bends to a comfortable point, hold a few seconds, then straighten.
- Reps & timing: 10 times, 2–3 sessions.
- Safety note: Do not force it; the movement should be without sharp pain.
Phase 3: Second month (back to daily life and strengthening)
Care and key precautions
Walking is now without a limp and out-of-home activities resume. Driving is possible once you have regained enough control of the leg and with my approval.
Exercises for this phase
Stationary cycling
- Goal: Increase range of motion and endurance without impact.
- Step-by-step technique: Set the saddle slightly high and pedal with no resistance; increase the time as it eases.
- Reps & timing: 5–10 minutes, once or twice a day.
- Safety note: If a full revolution hurts, do half-turns forward and back.
Mini-squat
- Goal: Strengthen the thigh and hip for knee stability.
- Step-by-step technique: Feet shoulder-width; bend the knees to about 30–45 degrees (as if sitting on a chair) and straighten; keep the back straight.
- Reps & timing: 10 times, 2 sessions.
- Safety note: Knee should not pass the toes; reduce range if painful.
Phase 4: Third month (advanced strengthening and balance)
Care and key precautions
You are ready for more dynamic activity and, if approved, to start light jogging. This phase focuses on balance, neuromuscular control and deep strength.
Exercises for this phase
Single-leg balance (proprioception)
- Goal: Retrain joint sense and prevent re-injury.
- Step-by-step technique: Stand on the operated leg and lift the other foot slightly; hold your balance — first holding on, then without.
- Reps & timing: 10–20 seconds, 3–5 times.
- Safety note: Practise near a support.
Controlled lunge
- Goal: Functional strength and knee stability in motion.
- Step-by-step technique: Step forward and lower your body until the front knee bends to about 90 degrees; return in control.
- Reps & timing: 8–10 each leg, 2 sessions.
- Safety note: The front knee must not roll inward or pass the toes.
Return to competitive sport (from month four onward)
The timing of return to sport depends on the injury: after a simple meniscus or cartilage trim, often 6–12 weeks; after a meniscus repair, which needs more protection, about 3–4 months; and after cruciate ligament reconstruction, a safe return to high-impact sport usually takes 9–12 months. I will set your exact timing and return plan based on your surgery and the knee's true readiness.
The services I offer
From precise diagnosis (examination and MRI) and non-surgical treatment, to minimally invasive arthroscopy and a rehabilitation plan — I am with you to regain a pain-free, stable knee. Book a consultation for an assessment.
Guides related to this service
Read the related guides to learn more about treatment and care.
Pre-operative guide
Post-operative care and rehabilitation
Lifestyle and home-exercise guide
Patients' frequently asked questions
What exactly is knee arthroscopy, and how does it differ from open surgery?
It is keyhole surgery through two or three small openings, performed with a camera inside the joint. A smaller incision means less pain, less damage to healthy tissue and a faster return to activity.
Does an ACL tear always need surgery?
Not always. In less active people or with a partial tear, physiotherapy may be enough; in athletes and in anyone whose knee gives way during daily activity, reconstruction is recommended. The decision rests on the examination, the MRI and your activity level.
How many days of rest are needed after arthroscopy?
For a meniscus repair or joint clean-out, usually a few days to a week; after cruciate ligament reconstruction you follow a rehabilitation programme lasting several months. Walking with crutches begins in the first days.
How long until I can return to sport after ACL reconstruction?
Return to contact sport usually takes 9 months or more, and only after passing strength and balance tests. Rushing this stage is the most common cause of re-tearing.
This content is for information only and is not a substitute for an in-person visit and specialist consultation.
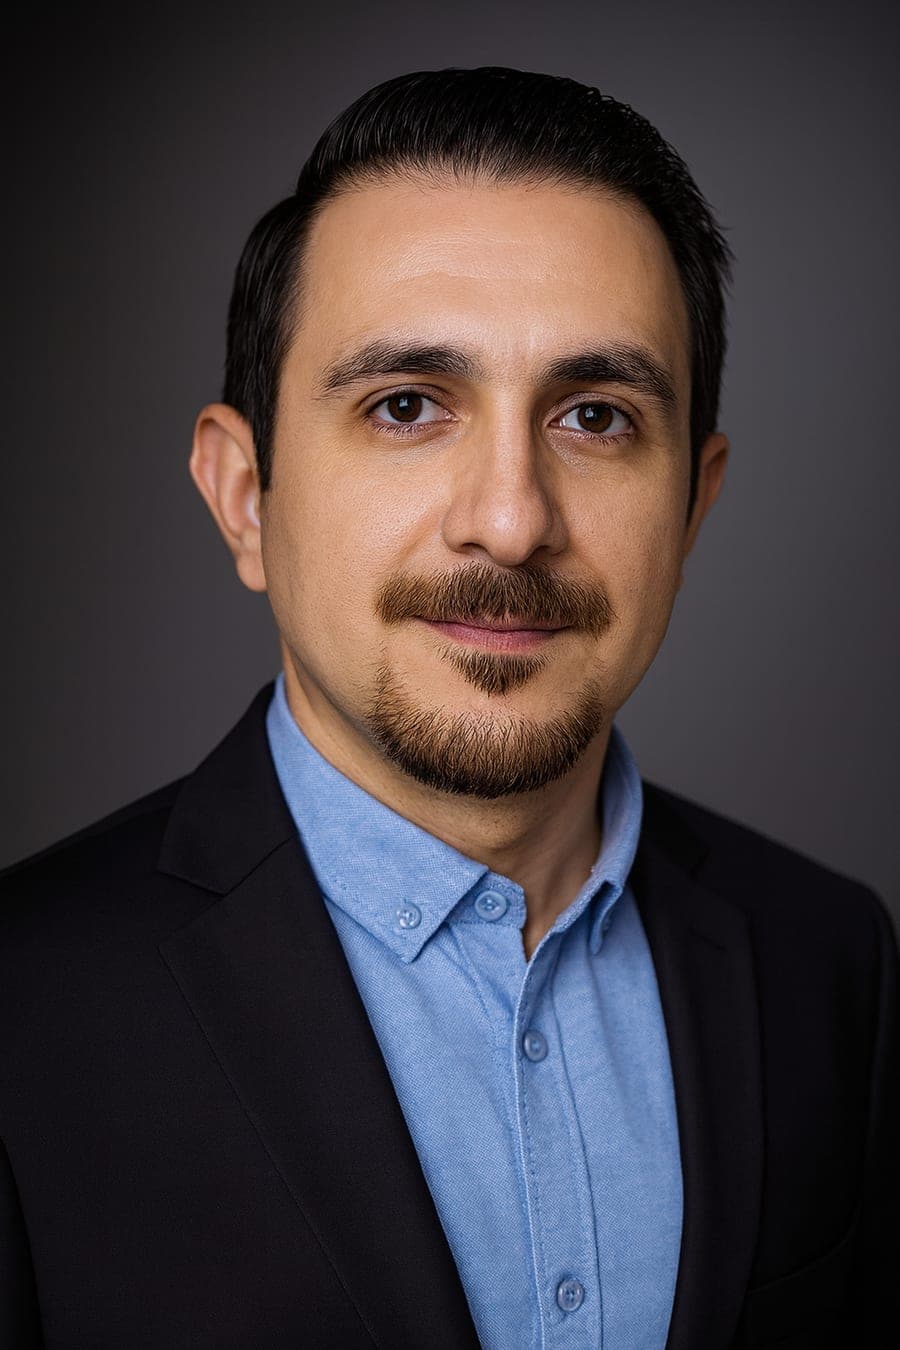
Dr. Jalil Emad
Orthopedic specialist and surgeon, board-certified in bone and joint surgery; years of experience in knee and hip replacement, sports injuries and arthroscopy in Isfahan.

Book a consultation for this treatment
Contact Asa Clinic for a thorough assessment and a treatment plan tailored to your condition.